
Brewing coffee 101 for the 99.9% of the world
This guide is for 99.9% of the world out there who is intrigued by this coned shaped equipment but is intimidated by all the jargons, equipment and almost exclusive community.
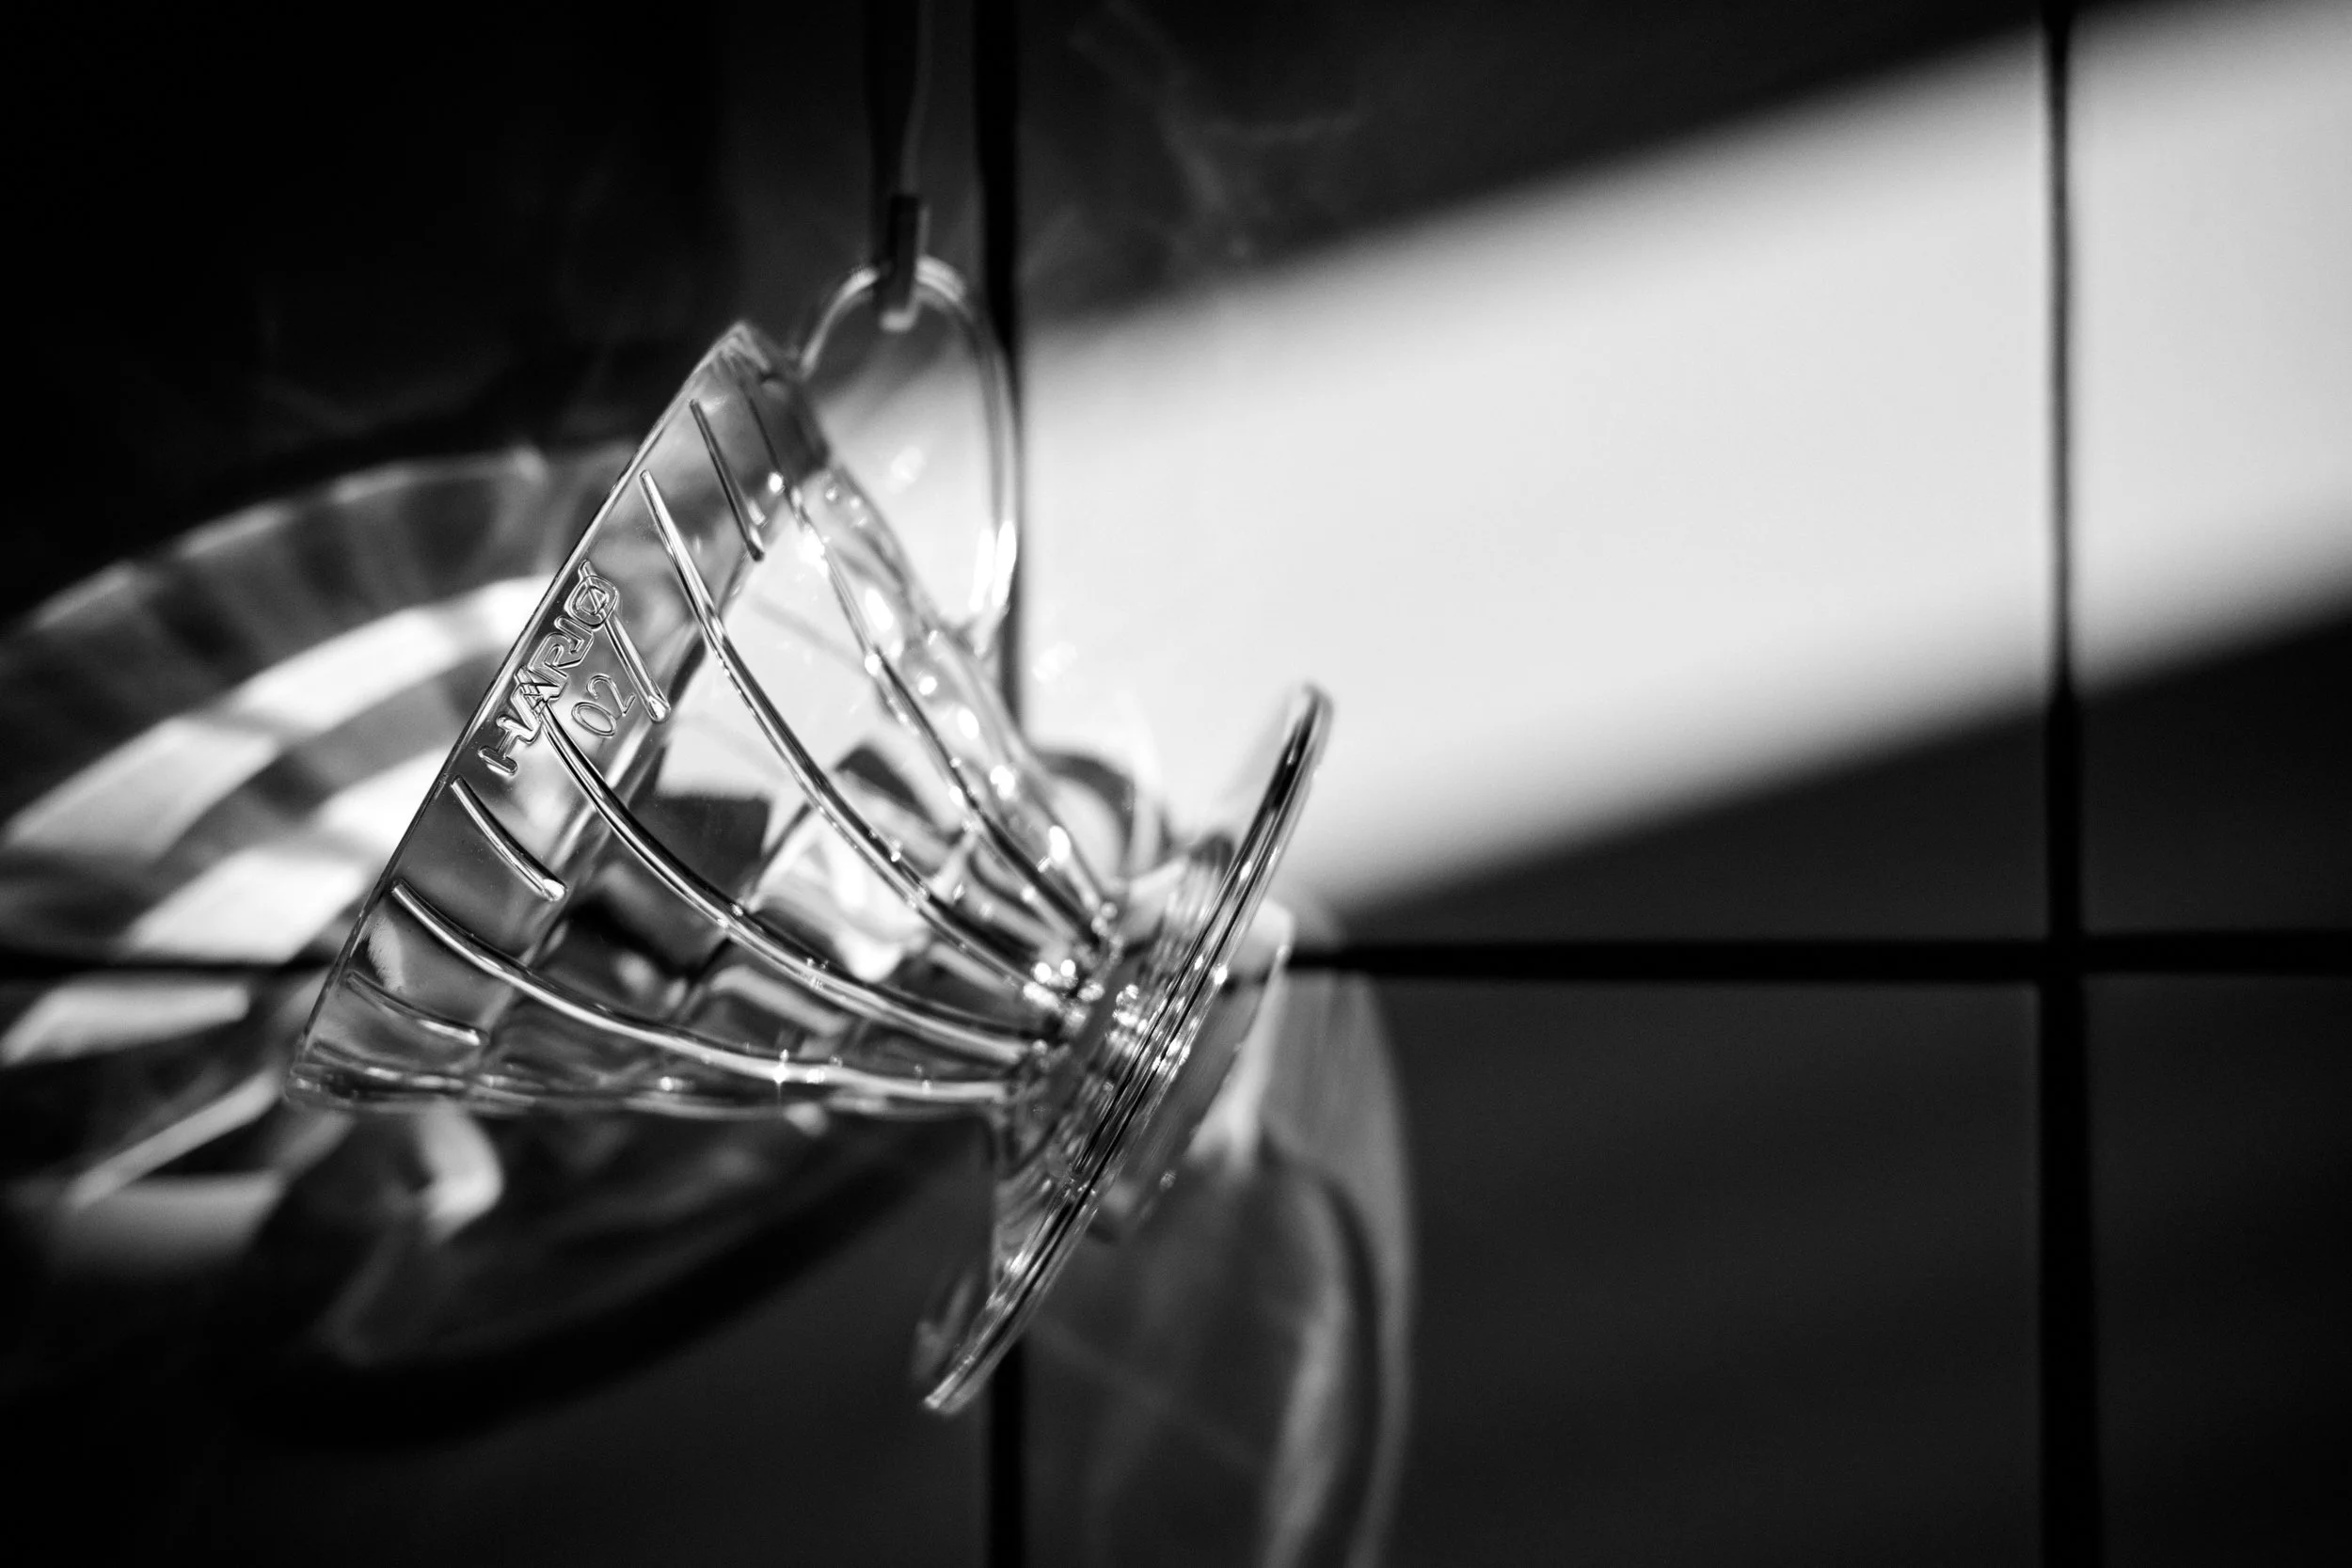
In the world of coned shaped funnels, we are going back to the OG. Hario V60. Plastic. GASP
The Hario V60 is a beloved favorite in the world of specialty coffee. Its elegant design and precision brewing capabilities make it a go-to method for coffee professionals and home brewers alike. If you're looking to explore manual brewing, this guide will teach you how to brew coffee using a V60—and why this simple cone dripper is a worth keeping as your everyday brewer.
But first an introduction to the legend. The Hario V60 is a pour-over coffee dripper known for its spiral ridges, large drainage hole, and conical shape. These features allow for better control over water flow, leading to a cleaner and more complex cup than traditional drip coffee makers.
Before we dive into the brewing process, gather the essentials:
Hario V60 dripper (plastic, ceramic, or glass)
V60 paper filter
Freshly roasted coffee beans
Gooseneck kettle (for precise pouring) - To some, it might a cardinal sin to not use this. But you do you.
Scale (to measure coffee and water)
Timer
Grinder (burr grinder recommended)
Mug or carafe
Brew Ratio
For the right brew ratio, always check with the roaster. If you are feeling shy, a great starting ratio is:
15–18g coffee
250g water
(Roughly a 1:16.5 coffee-to-water ratio)
You can scale up or down depending on your taste and cup size.
Step-by-Step V60 Brewing Instructions
1. Heat Your Water
Bring your water to 90–96°C. If you don't have a thermometer, boil the water and let it sit for about 30 seconds.
2. Rinse the Filter
Place the filter in the V60 and rinse it thoroughly with hot water. This removes paper taste and preheats your brewer. Don’t forget to dump the rinse water!
3. Grind Your Coffee
Use a burr grinder to grind 15g of coffee to a medium-coarse consistency—similar to kosher salt. Place the ground coffee into the filter and gently shake to level the bed.
4. Bloom (0:00–0:45)
Start your timer and pour about 40g of hot water to saturate the grounds. This step is called the bloom and allows the coffee to release trapped carbon dioxide, resulting in better flavor extraction.
5. Main Pour (0:45–2:00)
Continue pouring slowly in concentric circles or a steady spiral, adding the remaining water (up to 250g total). Pour gently and steadily to avoid disturbing the grounds too much.
6. Let It Drain (2:00–3:00)
Allow the water to draw down completely. The entire process should take around 2:30 to 3:00 minutes. Your coffee bed should look flat and even.
Troubleshooting & Tips
Bitter Taste - This is typically due to over extraction. So try a coarser grind or a faster pour so that the water passes through quicker and takes on lesser coffee flavour.
Sour Taste - Usually caused by under extraction of coffee flavours. So do the opposite of what was suggested above
Weak flavours - This could be due to too much water or beans have been grinded too coarsely. So logically speaking, try adjusting the ratio or grind finer.
At the end of the day, it is quite a logical experiment. So have fun, learn from your failures, learn from others. There is no wrong answers. This does not determine your career.